
Rebuilding
Kitchen Cabinets
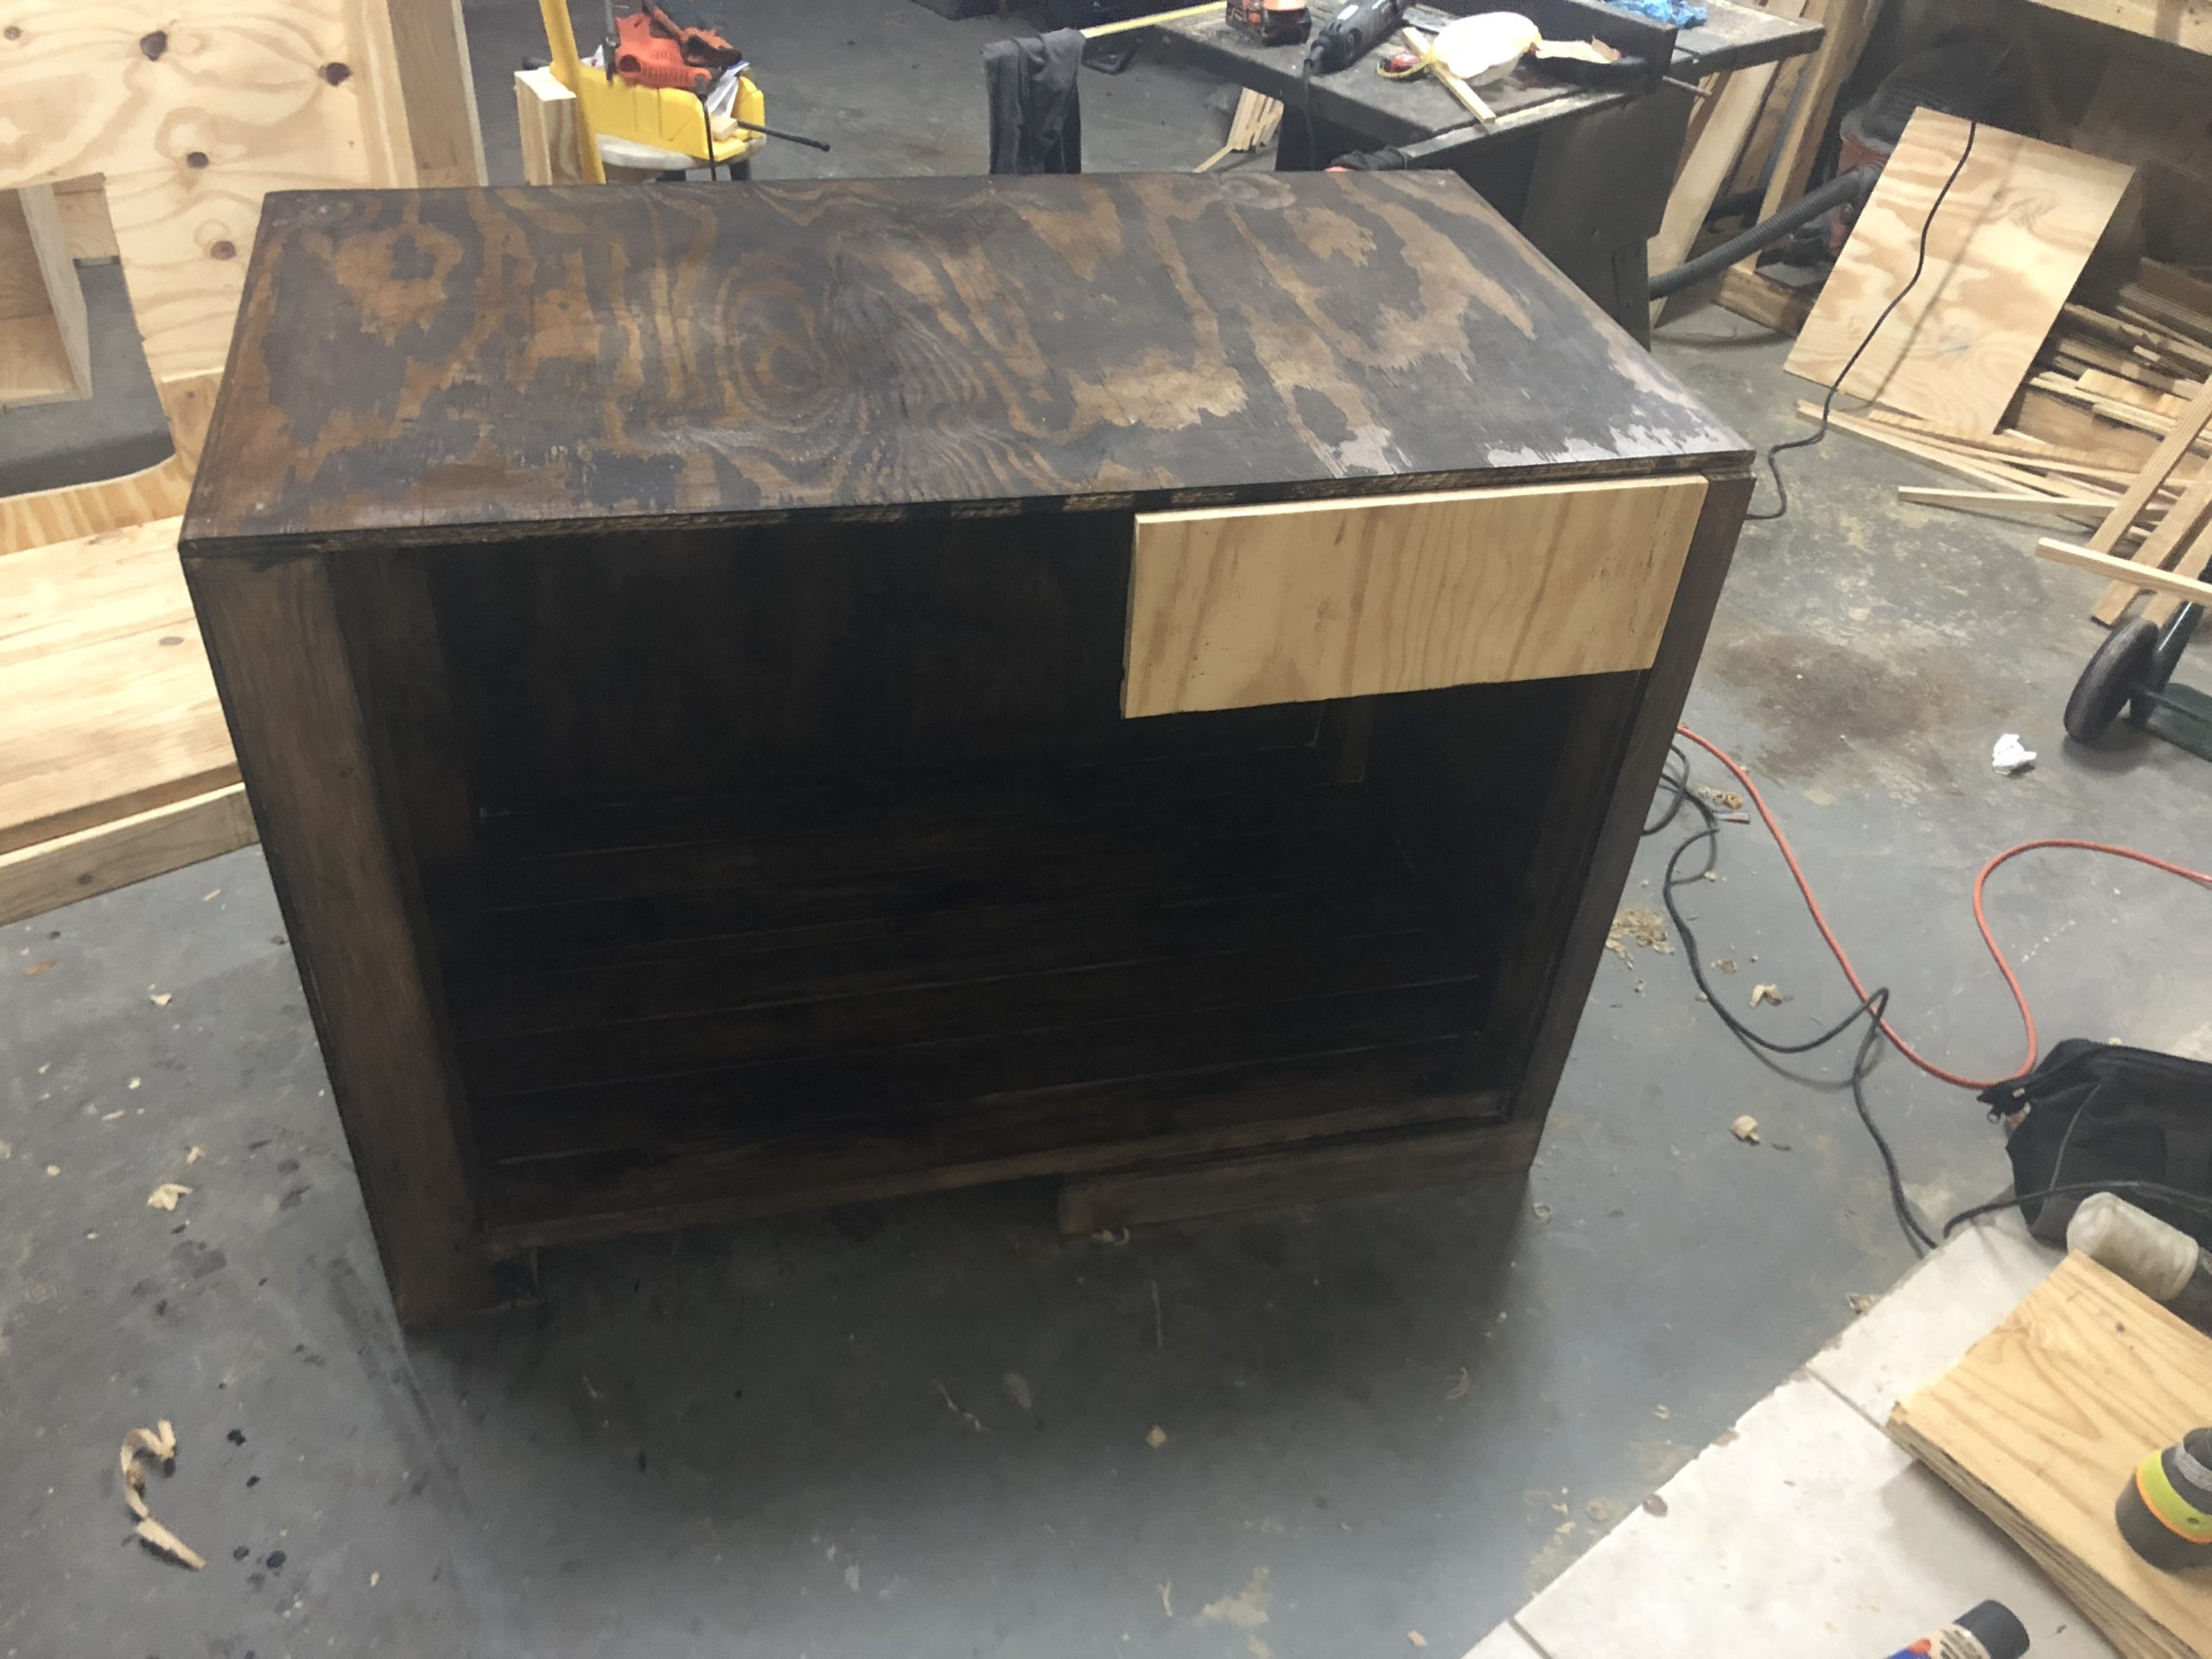
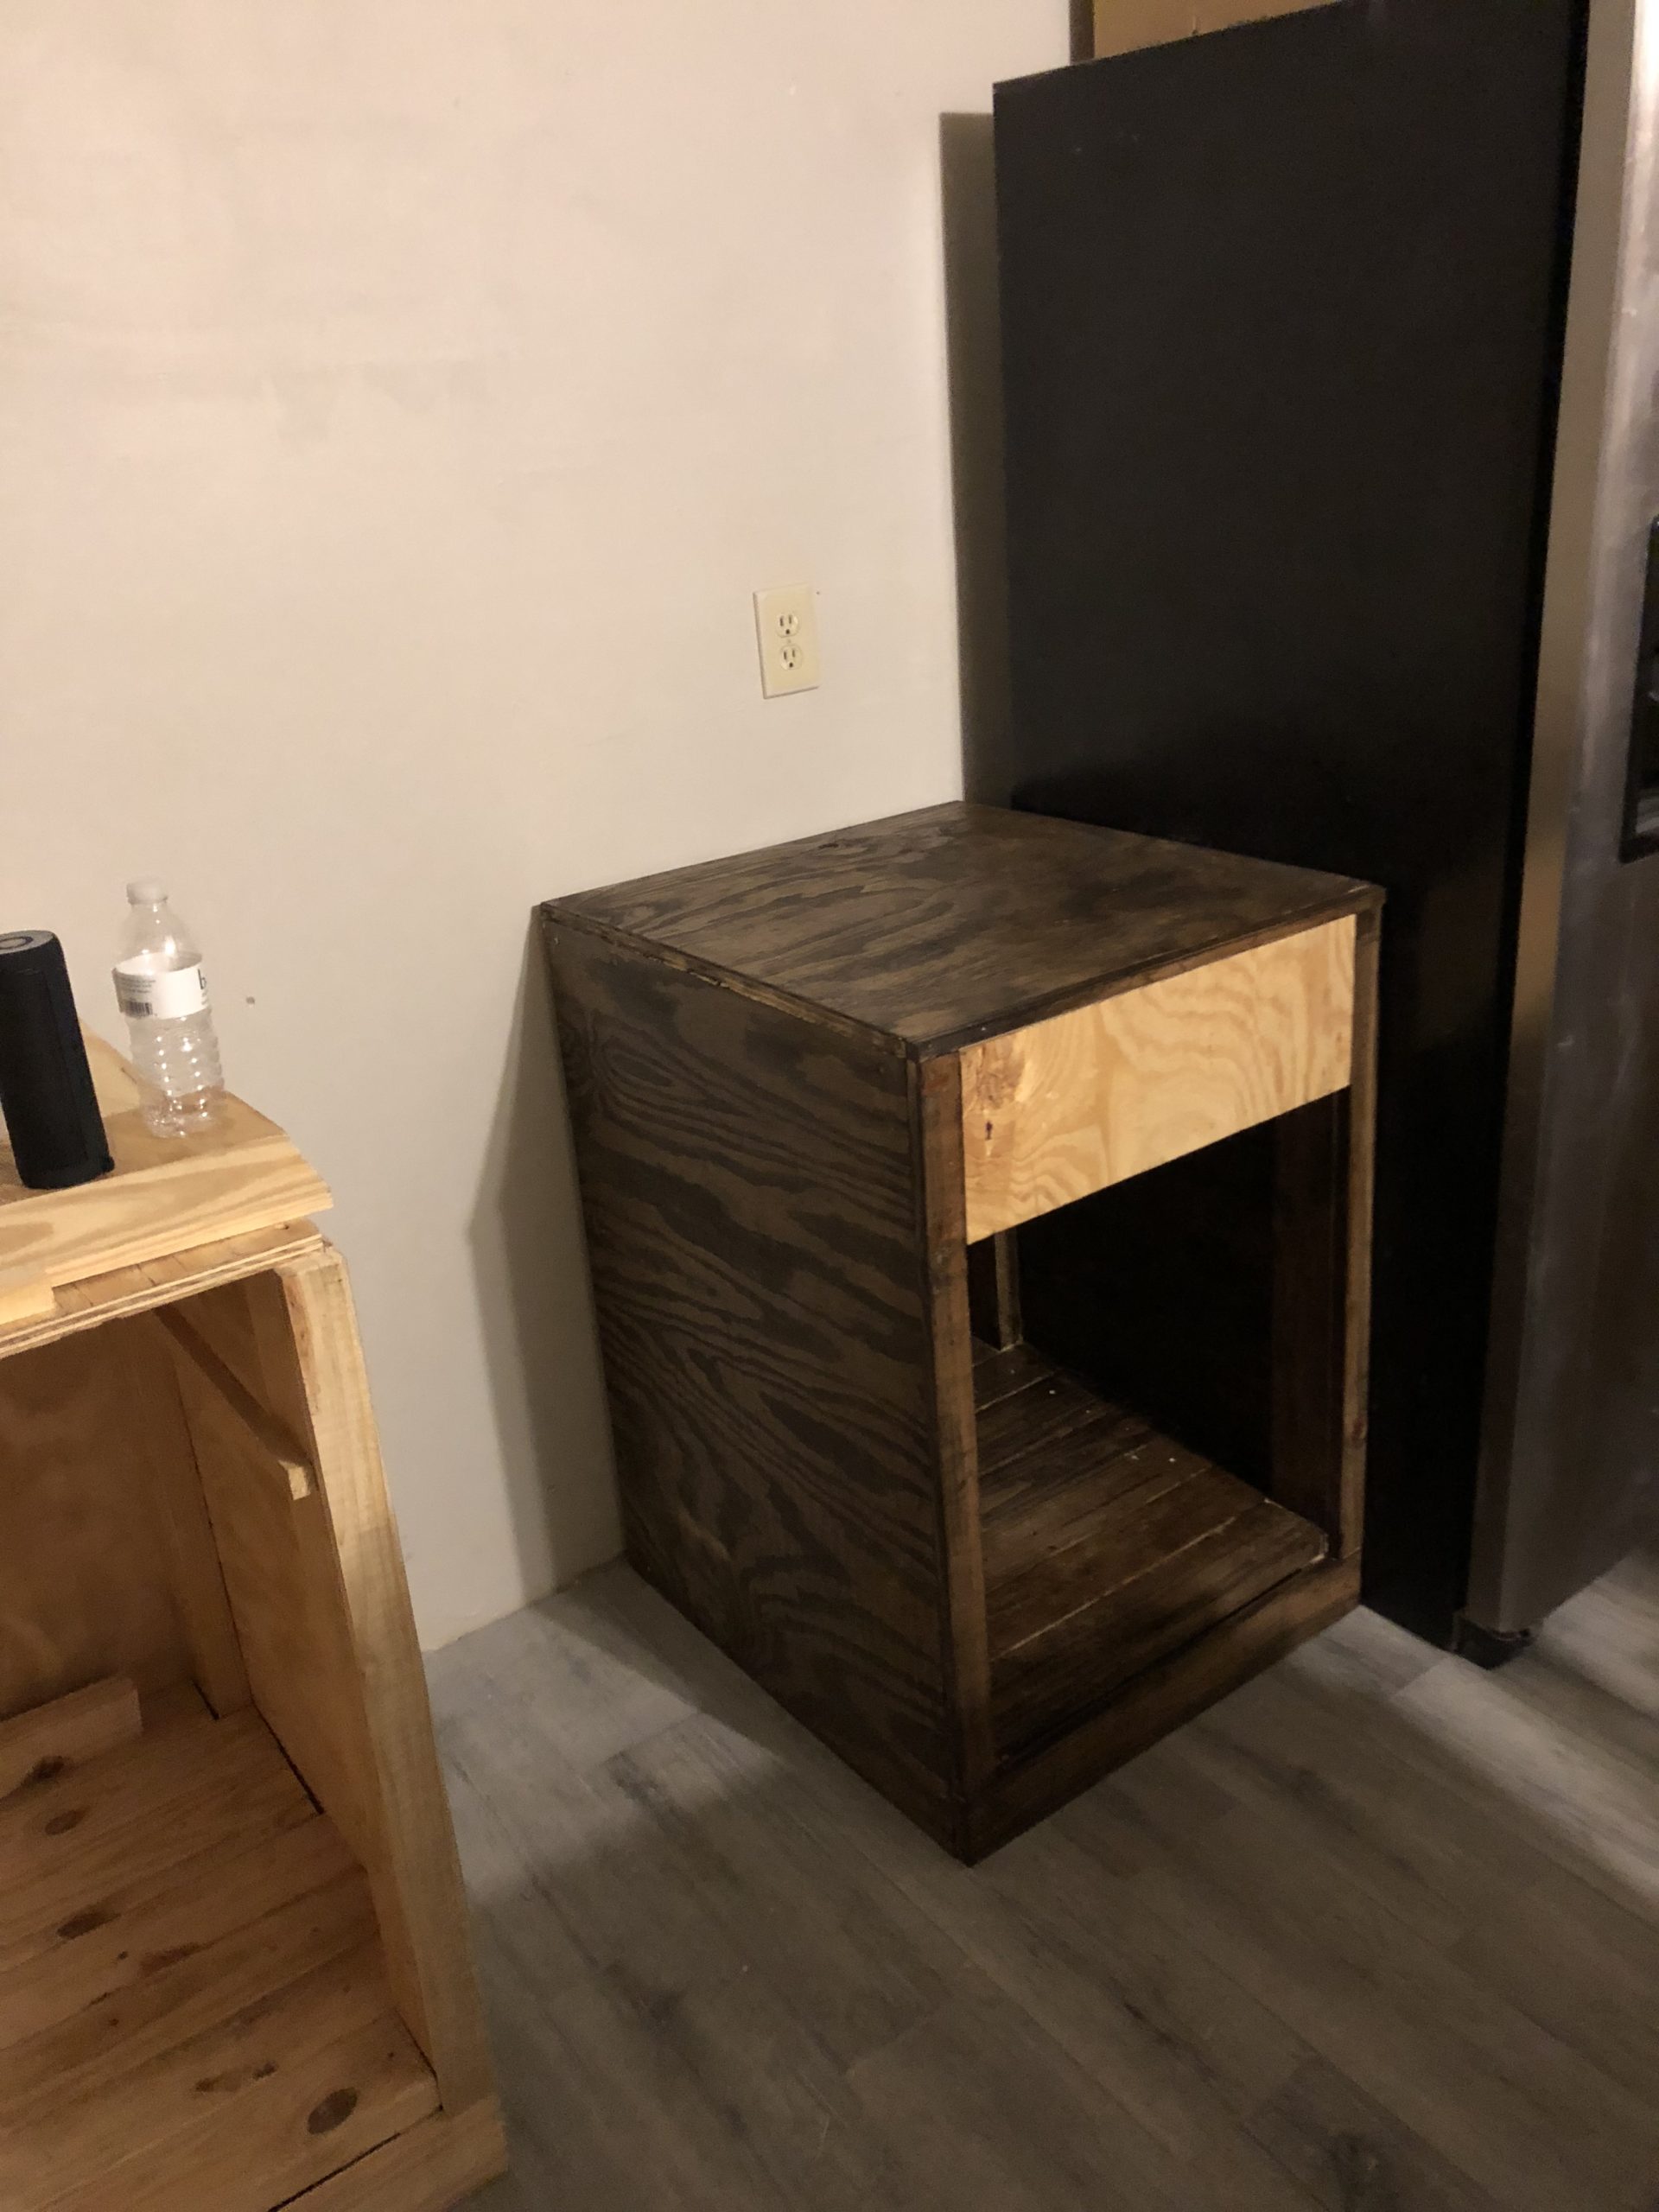
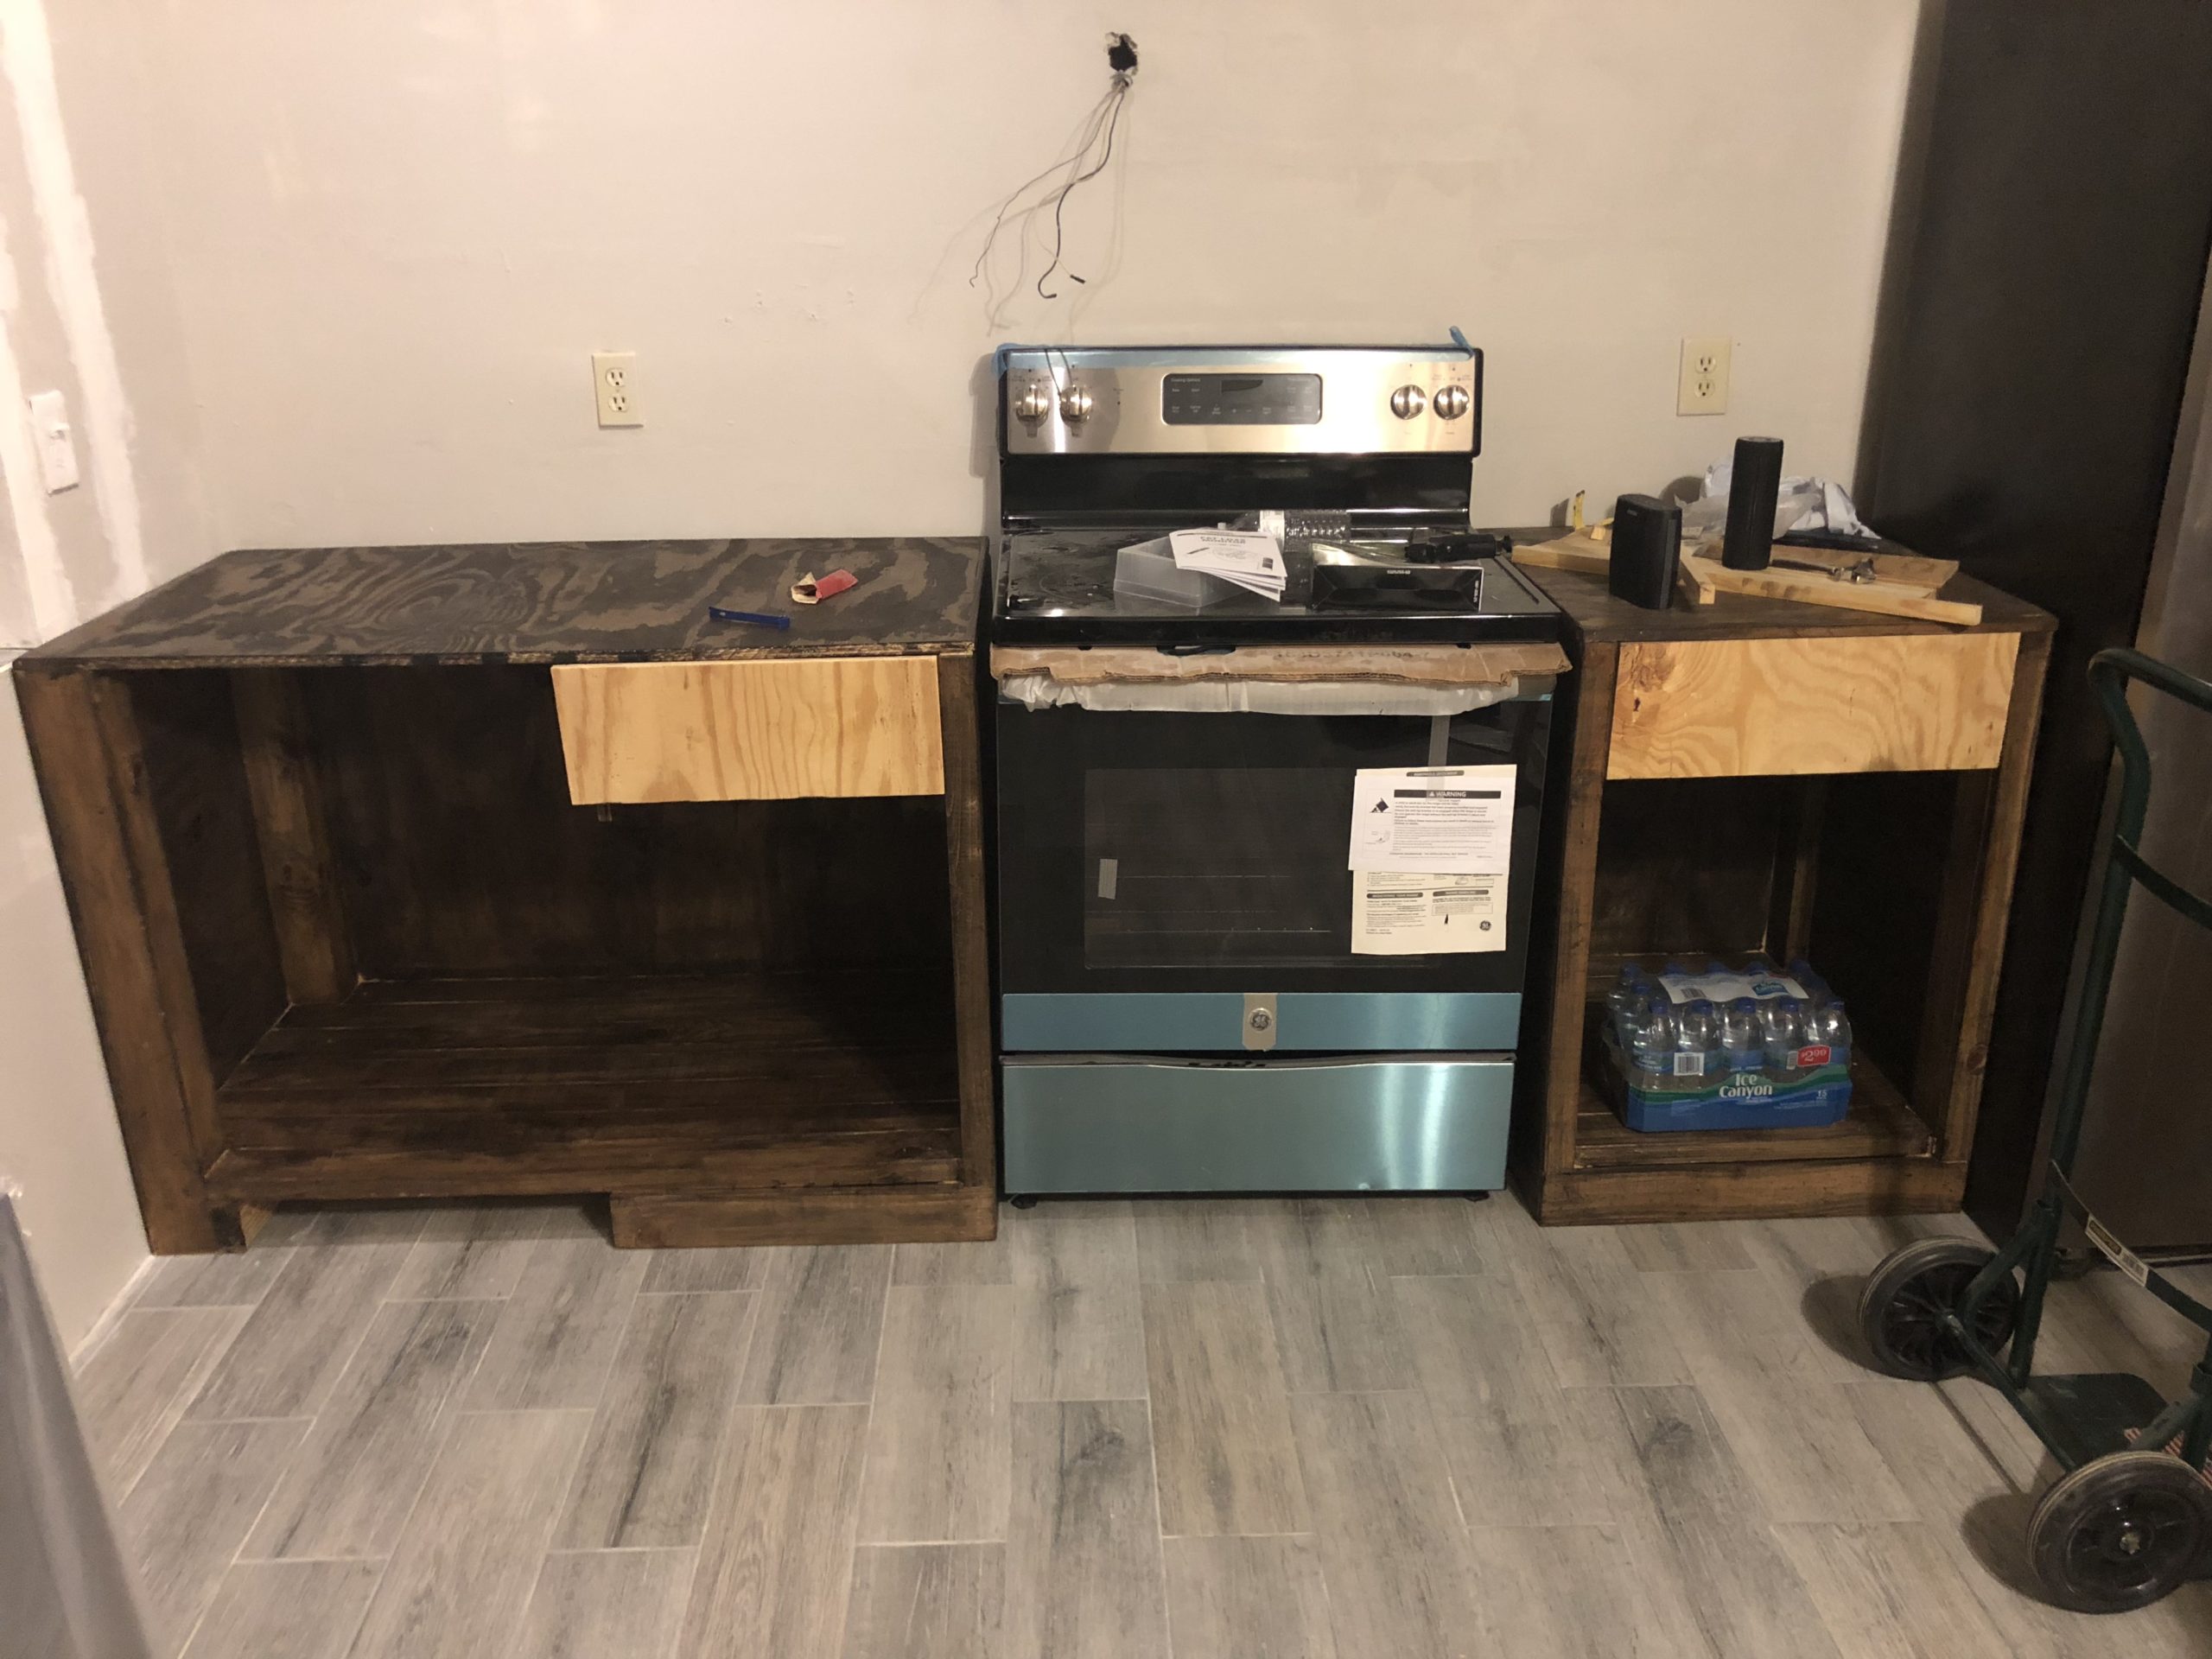
With the kitchen torn down, now it was time to start rebuilding. Making cabinets, running electrical, and building the small wall for the breakfast nook. In building the cabinets, I wanted to start from scratch, so I made a few trips to the local Home Depot bought some 2X4’s, 2X3’s and multiple sheets of plywood. The cabinets were mostly made with 2X4’s and plywood on faces. Knowing what I know now, would have probably just kept the construction of them to solely plywood.

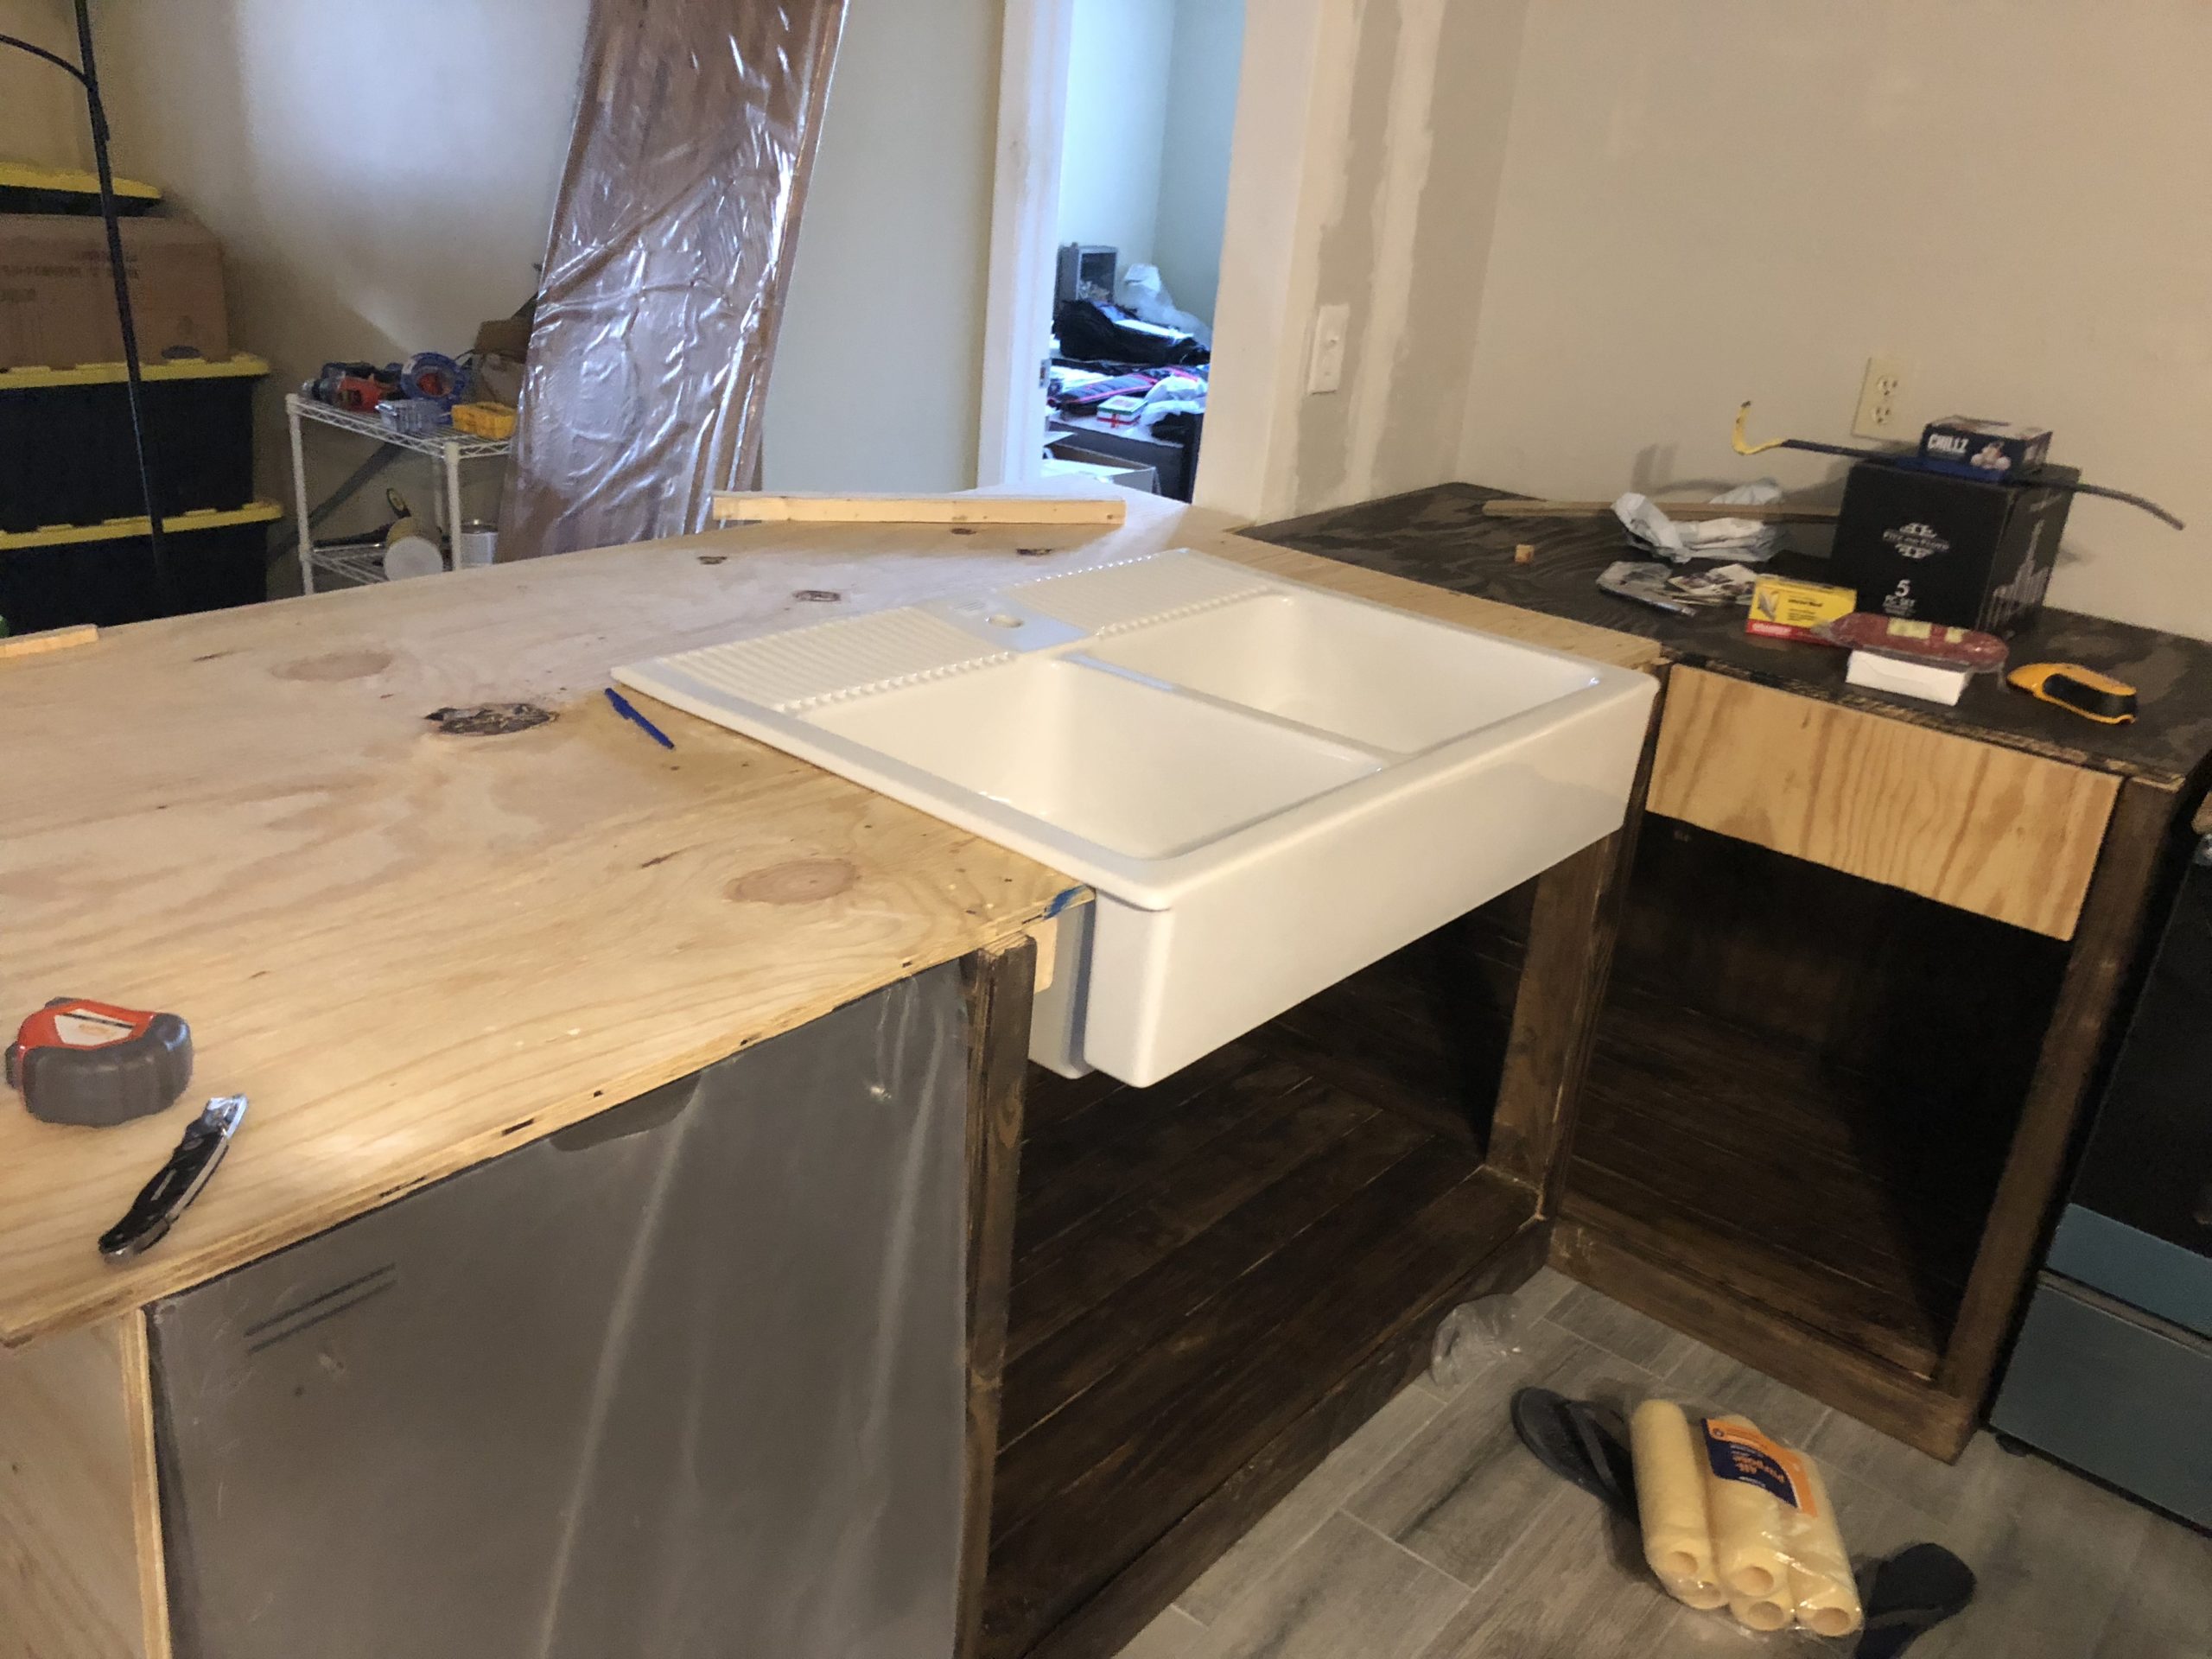
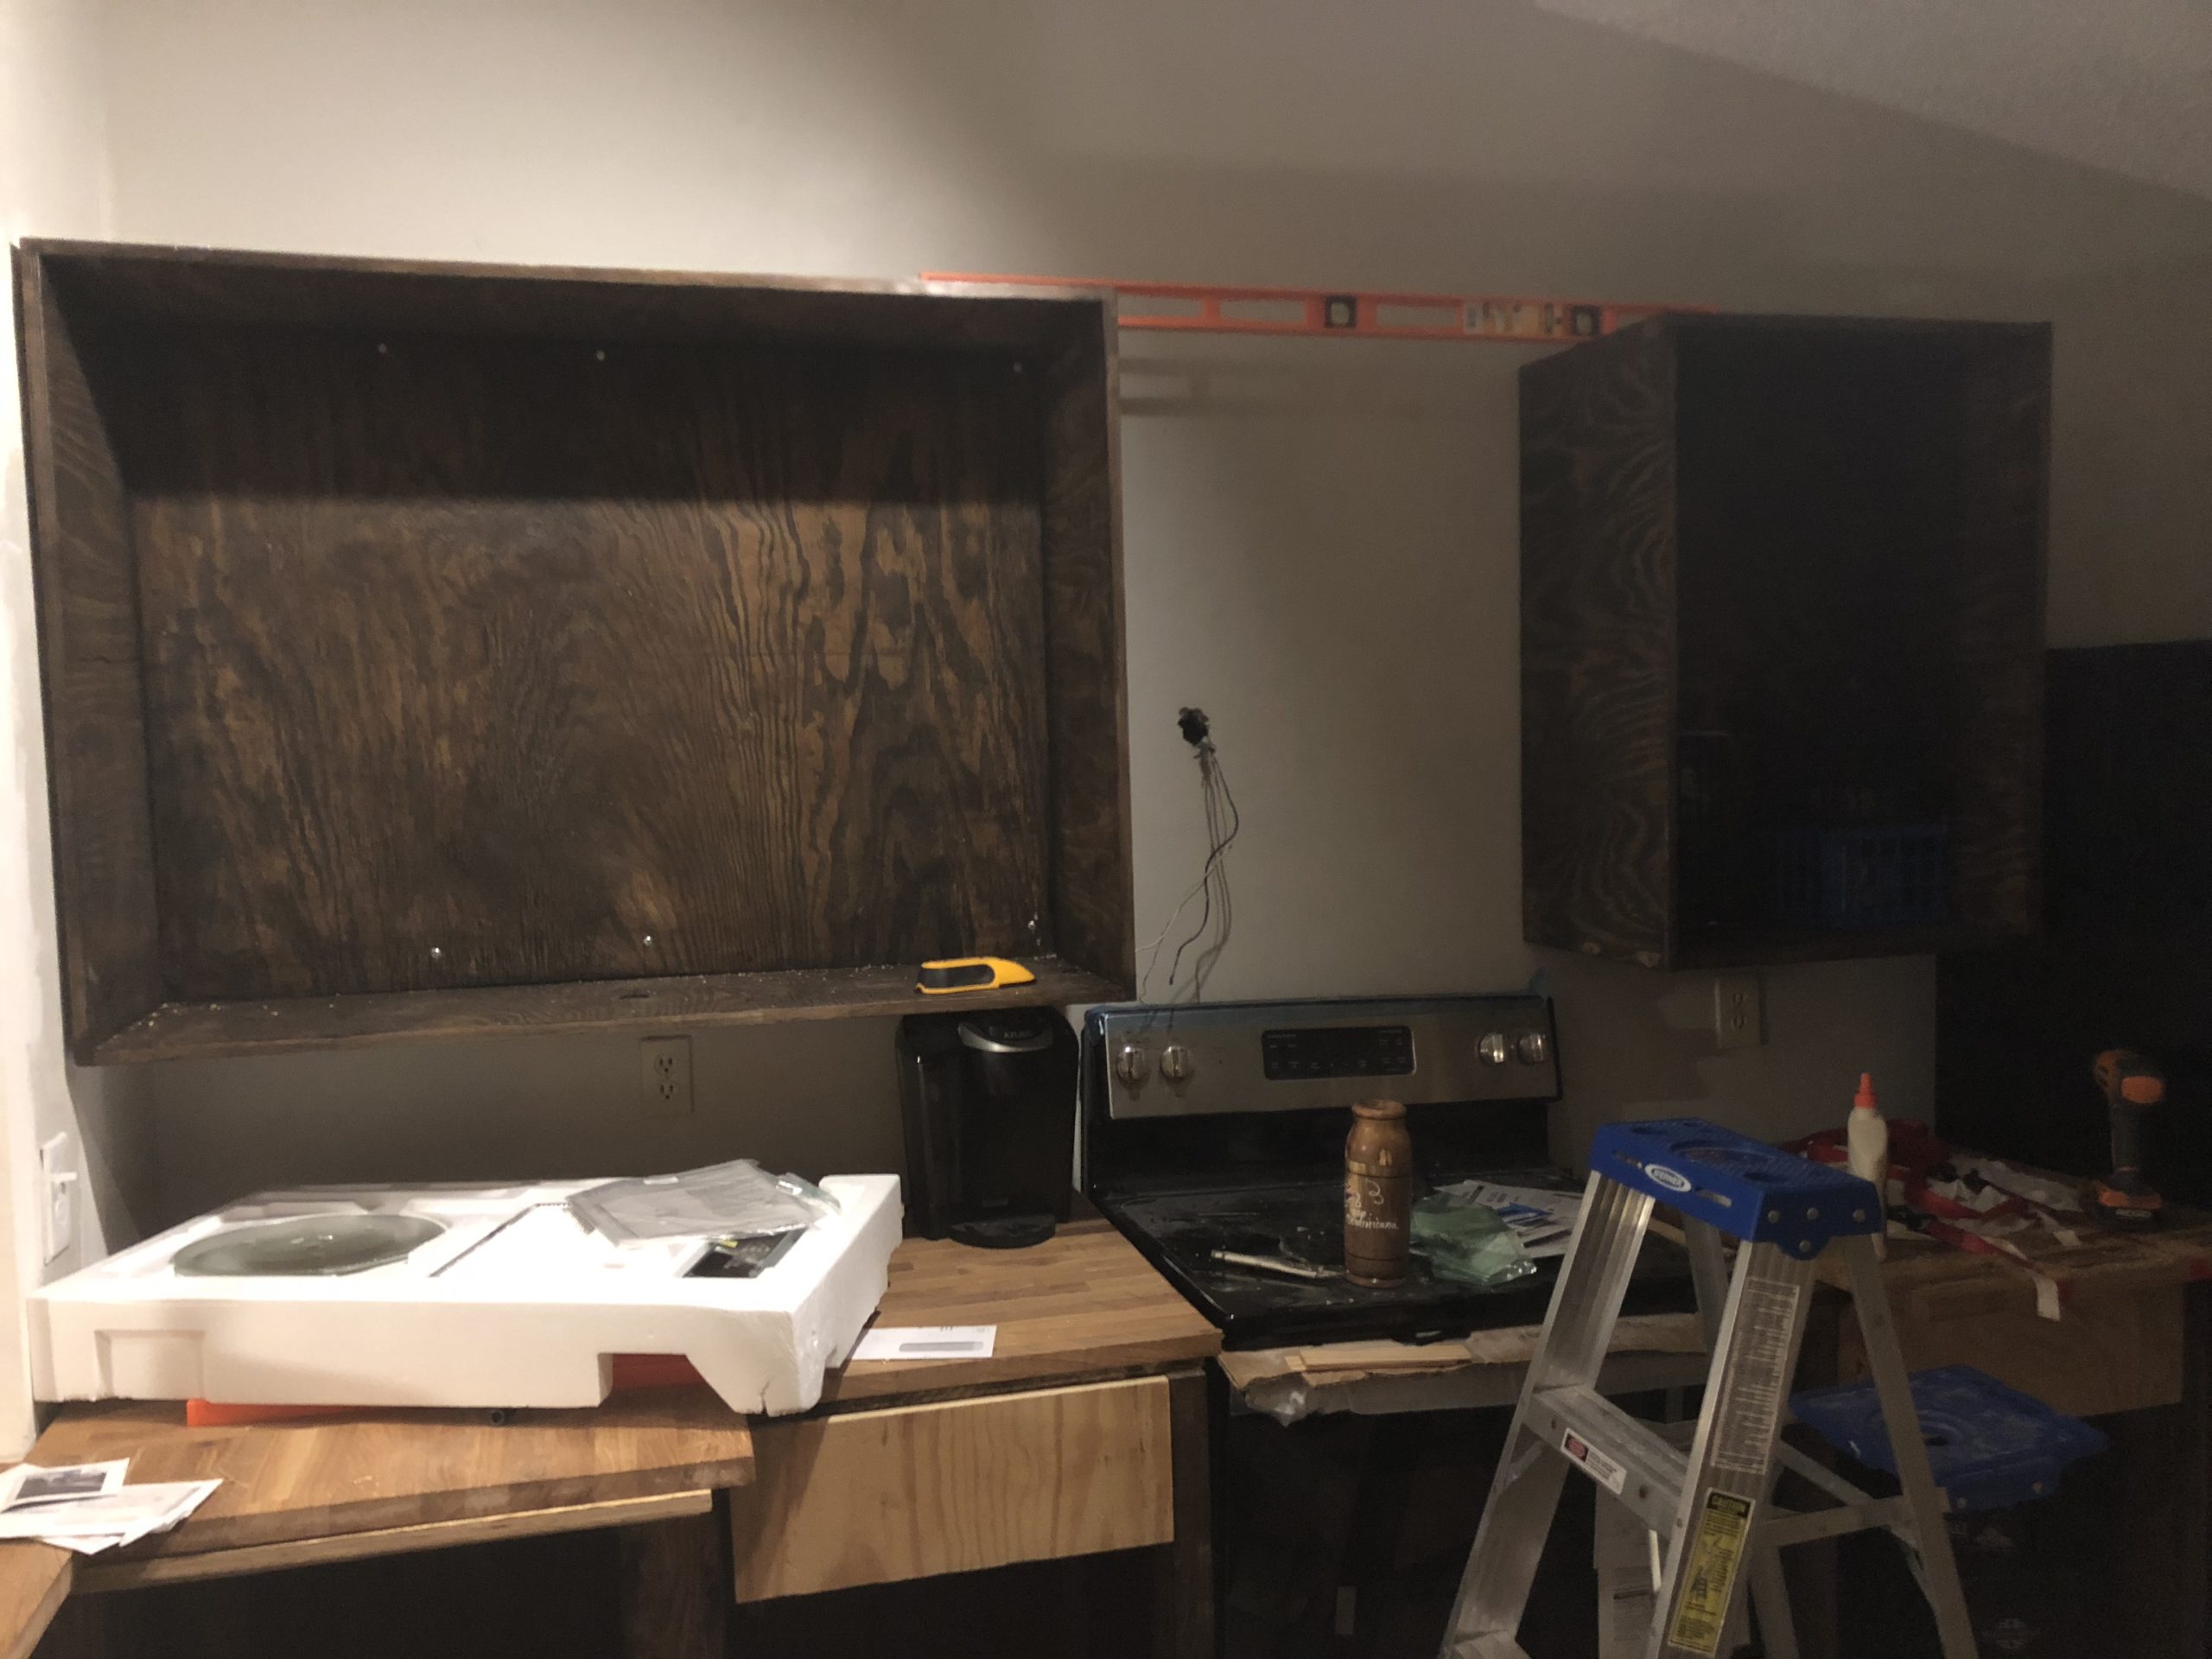
At the start of building these cabinets, I din’t have any table saw, however so a lot of the cuts were made with a jig saw, and a straight edge. Luckily, my brother gave me his table saw around half way through so I was able to make some straighter cuts and rip some 2X4’s to size.
Installing wall cabinets, without cabinet jacks was quite the task, to ensure that cabinets are were leveled I used a combination of milk crates and scrapped wood. Installing them onto the wall, I screwed into studs whenever possible, otherwise I used a heavy duty drywall anchors.
Wiring
Having taken down a wall, I needed to rerun some wiring to close off circuits that I had opened, this was an interesting task. I mostly used a multi-meter, to test for continuity, and voltage. Re-running electrical wiring, meant I had to climb up into the attic a few times to run, and splice wires, a very uncomfortable task as I live in south Florida, and the attic is as hot as the Sahara.
Walls
Having eliminated a wall, now I have the task to rebuild the breakfast nook wall, as well as replacing drywall. To rebuild the breakfast nook wall, I purchased metal studs, and concrete anchors, as the base connect to the floor. When it came to drywall, this was my first time installing it, it’s truly a tedious task. Tedious as it requires a lot of patience, since there is a lot of mudding and sanding, over and over again.
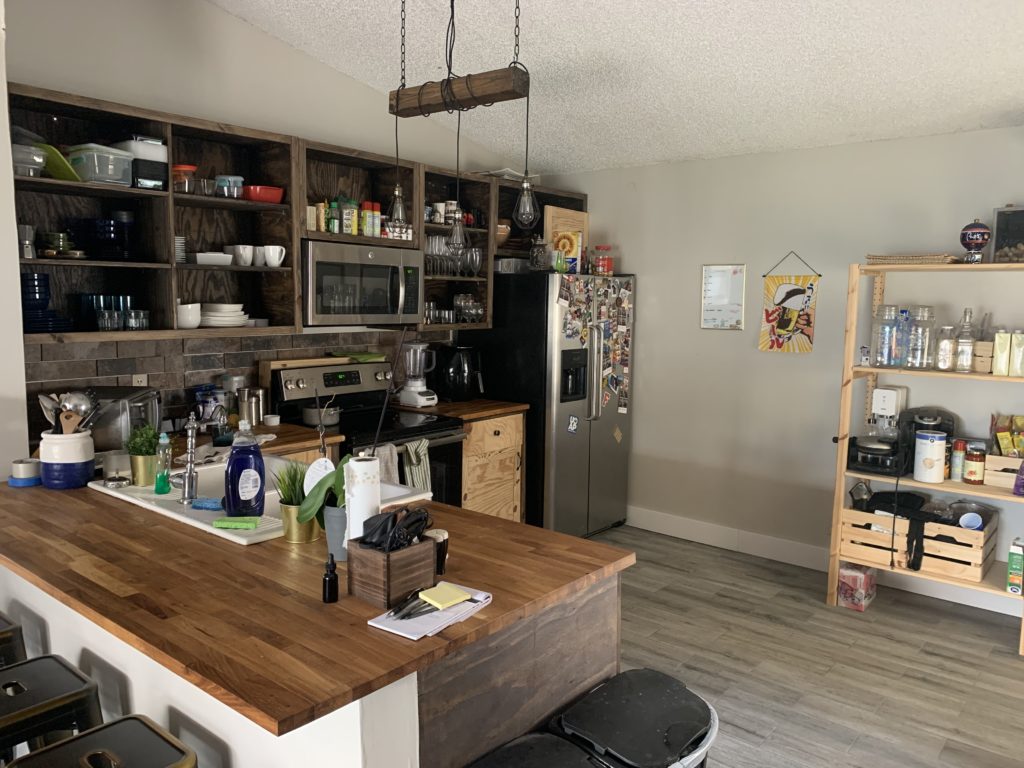
Kitchen Now
Things left to finish:
- Back splash
- Cabinet doors

